Tasmota to Wi-Fi:
Power on the device.
Open the Wi-Fi settings on your Mobile Device/Computer.
Wait until you see a Wi-Fi network that starts with tasmota and select join it. Eg “tasmota-ebaec”
Either open a browser to 192.168.4.1, or click on the “Sign in to this network” prompt.
You will be presented with a list of Wi-Fi networks, select yours and enter the password.

Take note of the IP address that you are presented with.
Your browser should automatically redirect to the devices new IP address.

Tasmota to MQTT
Navigate to the previously presented IP Address.

Click “Configuration” and then “Configure Other” and update the Device Name & Friendly Name 1, then click save.

We recommend using the same name value for both
Click “Configure MQTT” and fill in the following details:

Host – The IP address of your OneStop agent (PC/Server where local DCA is installed)
Client – This must be unique for the user. The default value will work.
User – Leave default.
Password – Leave default.
Topic: it must be set to – %12X
(RECOMMENDED) If you want to link the plug to a device in onestop then it should be in this format: sn_<SN of Device>_%12X
Full Topic: must be in the following format
OSPlugs/%topic%/<Custom Field 1>/<Custom Field 3>/<Custom Field 3>/<Device Type>/
Click Save.
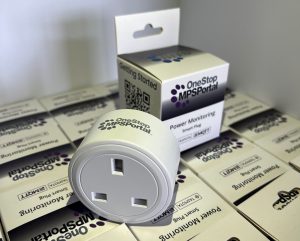
Your OneStop Smart Plug is now configured and ready for use.